Repotting a plant can feel like a delicate operation—one wrong move, and you risk damaging the roots, which can stress or even kill your beloved greenery. But with the right approach, you can safely transfer your plant to a new home without harming its delicate root system. Whether you’re dealing with a root-bound houseplant or upgrading to a larger pot, this gentle repotting guide will walk you through the process step by step.
Why Repotting Without Damaging Roots Matters
Healthy roots are the lifeline of any plant. They absorb water, nutrients, and oxygen, ensuring your plant thrives. Damaging them during repotting can lead to stunted growth, wilting, or even root rot. A careful repotting process minimizes shock and helps your plant adjust smoothly to its new environment.
Signs your plant needs repotting:
- Roots growing out of drainage holes
- Slow growth despite proper care
- Soil drying out too quickly
- Visible roots circling the pot’s interior
Gather the Right Supplies
Before you begin, make sure you have everything you need to ensure a smooth transition for your plant. Having the right tools on hand reduces the risk of accidental root damage.
Essential repotting supplies:
- A new pot (1-2 inches larger in diameter than the current one)
- Fresh potting mix suited to your plant’s needs
- A trowel or small shovel
- Pruning shears (for trimming damaged roots if necessary)
- Watering can
- Gloves (optional, for handling prickly plants)
Choosing the Right Pot
Avoid pots that are too large, as excess soil can retain water and lead to root rot. Terra cotta pots are breathable and help prevent overwatering, while plastic pots retain moisture longer—ideal for plants that prefer damp soil.
Step-by-Step Guide to Gentle Repotting
Follow these steps to ensure your plant’s roots remain intact and healthy during the repotting process.
1. Water the Plant Before Repotting
Moist soil holds together better, making it easier to remove the plant without disturbing the roots. Water your plant a day before repotting to ensure the roots are hydrated but not waterlogged.
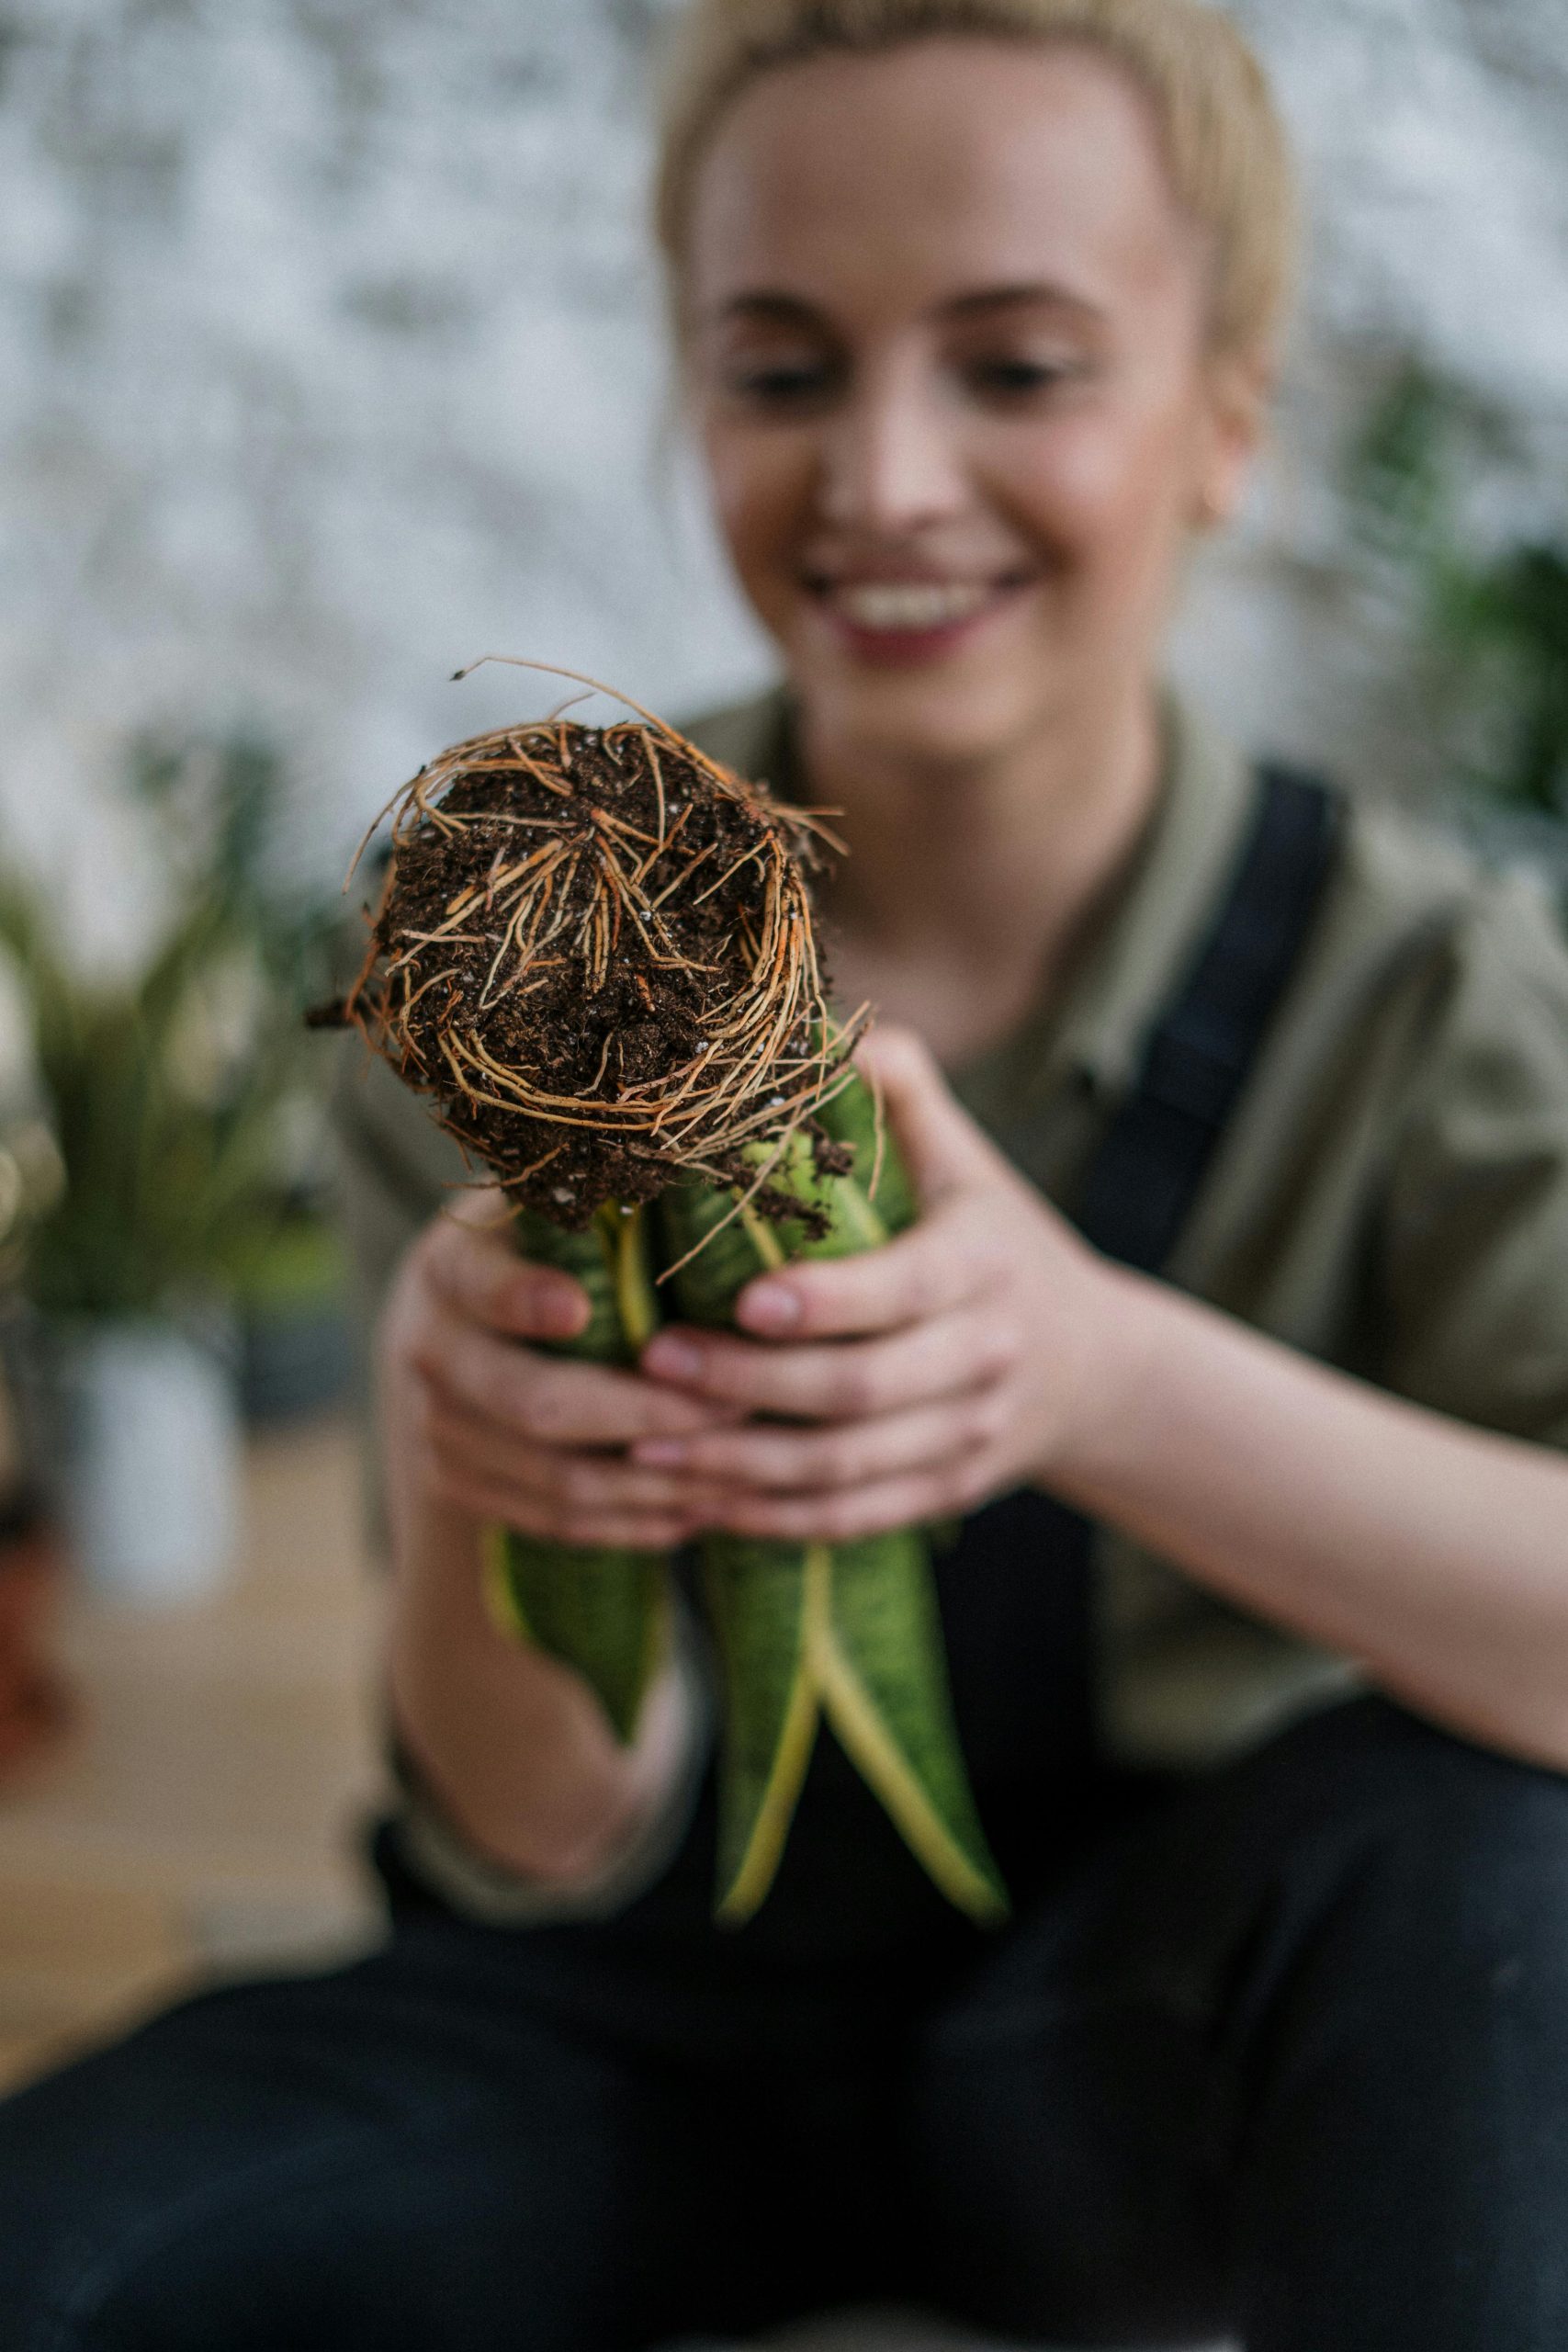
2. Loosen the Root Ball Carefully
Turn the pot sideways and gently tap the sides to loosen the root ball. If the plant is stubborn, slide a knife around the inner edge of the pot to help release it. Avoid pulling the plant by its stems—this can break roots or damage foliage.
3. Inspect and Prune if Necessary
Once the plant is out, examine the roots. Healthy roots are firm and white or light-colored. Trim any black, mushy, or excessively long roots with sterilized shears. For root-bound plants, gently tease apart the outer roots to encourage new growth.
4. Place in the New Pot with Fresh Soil
Add a layer of fresh soil to the bottom of the new pot. Position the plant so the root ball sits just below the rim. Fill in around the roots with soil, pressing lightly to eliminate air pockets. Avoid compacting the soil too tightly—roots need room to breathe.
5. Water Thoroughly and Monitor
After repotting, water the plant to help settle the soil. Place it in a shaded area for a few days to reduce stress before returning it to its usual spot. Keep an eye on moisture levels—new soil may dry out differently than the old mix.
Common Mistakes to Avoid
Even experienced plant owners can make mistakes during repotting. Here’s what to watch out for:
- Repotting at the wrong time: Avoid repotting during dormancy or flowering unless necessary.
- Using the wrong soil: Always match the potting mix to your plant’s needs (e.g., cactus mix for succulents).
- Overhandling the roots: Excessive touching or shaking can break delicate root hairs.
- Skipping post-repotting care: Plants need time to adjust—don’t fertilize immediately.
Conclusion
Repotting a plant doesn’t have to be a stressful experience—for you or your plant. By following these gentle techniques, you can ensure your plant’s roots remain healthy and undisturbed during the transition. Remember to choose the right pot, handle the roots with care, and provide proper aftercare to help your plant thrive in its new home. With patience and attention to detail, your greenery will continue to grow lush and vibrant for years to come.